If you want to remove permanent nail polish from your nails at home and don’t know where to start, we’ll tell you how to do it step by step!
Are you up to date with the manicure trends that will sweep this season? Whether you have short nails – here you will find some perfect designs – or long – check out this outstanding tie-dye inspiration – you will agree with us that they can become the protagonists of our looks.
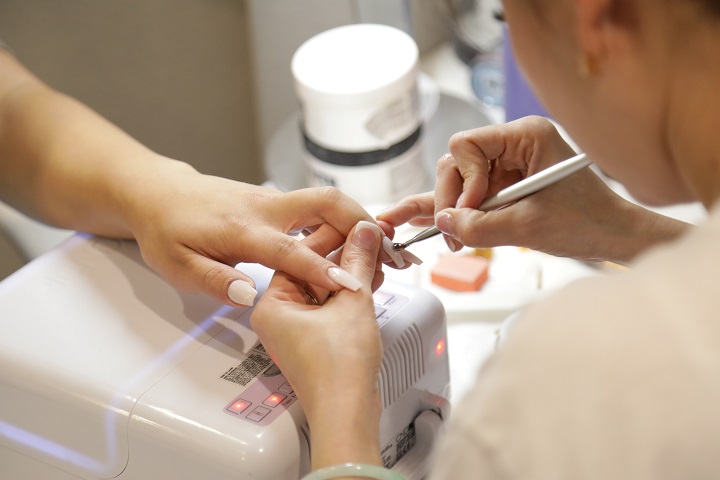
One of the best options nowadays (because of its practicality and comfort) is the permanent manicure. Once it dries, you don’t have to worry about anything else until your next visit to the beauty salon. Now, what happens if, for whatever reason, you have to take it from yourself?
Don’t worry, and you can do it at home if you spend at least half an hour and a lot of patience. Before biting yourself, ripping it off, and damaging your nails, you should do it.
What Do You Need To Remove Permanent Nail Polish At Home?
With the help of a complex file, pure acetone (it is more potent than nail polish remover), Vaseline, cotton, a unique nail moisturizer, and aluminum foil, you can remove your permanent manicure by following our step by step guide.
Before you start, keep in mind that this is a delicate process and that our goal is not to damage the nails, which, after adhering to the enamel for so long, maybe weaker and more brittle than usual, so you have to take a lot of watches out. Take note!
Step By Step To Remove Semi-permanent Nail Polish
Table of Contents
1. Find The Place
Okay, make yourself comfortable because this will take a long time. It would help if you found a place with ventilation. The reason? Acetone is very strong, and it is advisable not to inhale it too much as it can affect our health. Also, place some pieces of kitchen paper as the base of the place where you will remove the nail polish.
2. Make The Polish Porous
The permanent enamel and the nail are united by a compact and robust layer, which is very difficult to separate. To eliminate it, we must make the enamel acquire porosity, that is, soften it so that, when applying the acetone later, the effectiveness is more significant.
So, very carefully, take your file and pass it over the entire surface of the manicure until the shiny part and some color are gone but do not touch your natural nail.
3. Prepare Your Nails
Now it’s time to protect your nails before carrying out the next step. Apply a layer of Vaseline around each one so that the acetone, which we will use next, does not contact the skin and damage your cuticles.
4. Apply Acetone
To carry out this process safe for your skin, have ten cotton balls and ten square pieces (not very big, enough to wrap each nail) of aluminum foil. Soak the first ones with acetone, place them on your fingers, and then cover them with minum foil. Now, relax: let the product act for about 15 minutes. And don’t move!
5. Remove The Polish
When you see that the nail polish has begun to peel off or has a broken appearance, remove the remains with a cotton ball soaked in acetone. Gently rub from the cuticles to the tip of the nail.
6. Moisturizes
Once you have removed all traces of acetone, make your nails firm by moisturizing them well. We advise you to use a special cream for this area or even Vaseline itself for at least a week. And if you have one at home, apply polish with vitamins, or that helps strengthen your nails.
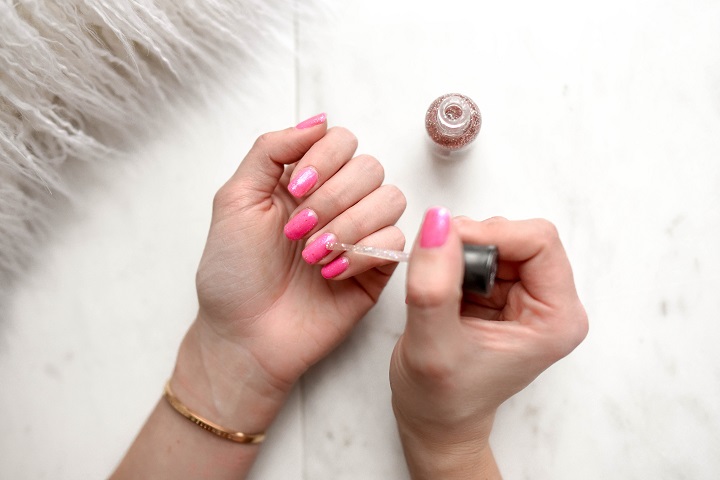
If you have just removed the polish from your manicure and you are already thinking about the following nail art that you will do or the color that you will paint your nails, do not miss all our proposals! Although if you want to do your manicure, the first thing you need is good shockproof nail polish!